Measuring for a simple skirt.
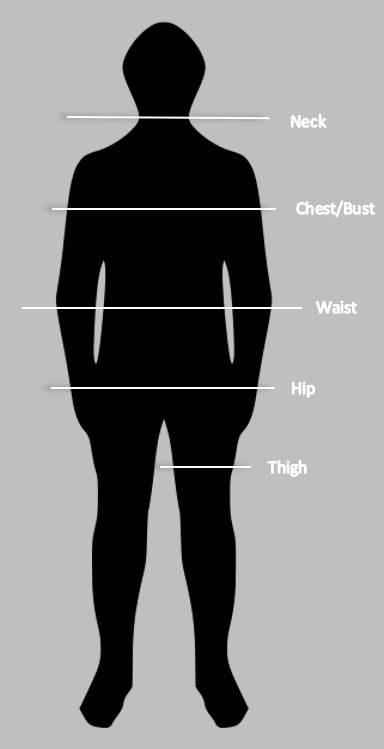
- Waist
- Hips
- Length from waist to hip
- Desired total length.
*Note: Use Stretch Fabric. 4-Way Stretch is preferred. 2-Way stretch should be oriented so it allows horizontal movement rather than vertical. Non-stretch fabric is not recommended for this method. If your fabric has no stretch, or you desire a looser fit, add a couple of inches to the hip. Additionally, you may want to add a couple of inches to the waist and attach an elastic or stretch fabric waistband. Add these inches to your measurements at the beginning so there won’t be any mix ups.
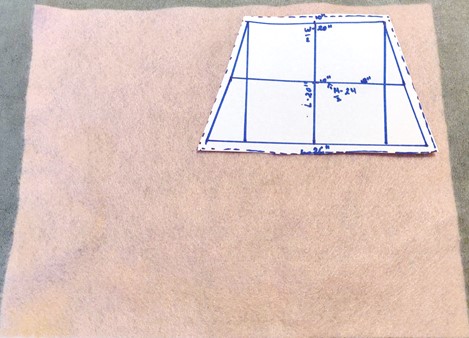
Drawing the Pattern.
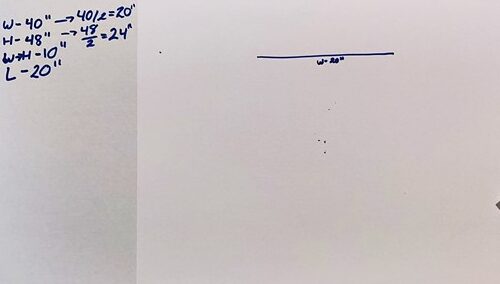
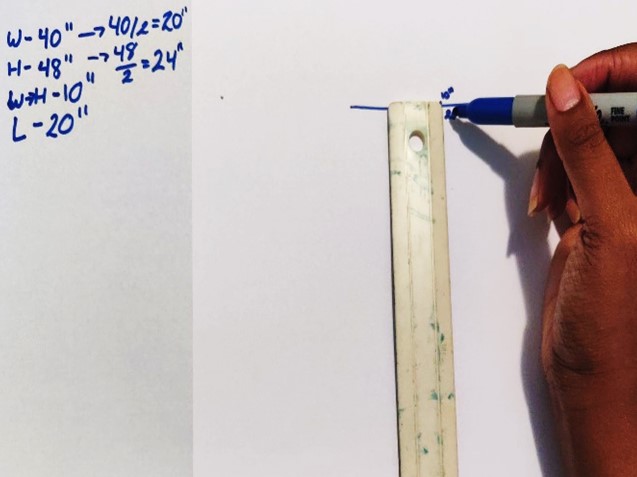
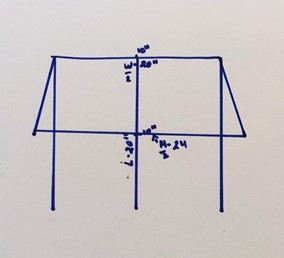
- Draw a line at the top for the waist. This is your waist measurement divided by 2.
- From the midpoint of the waist, draw a line straight down representing the desired total length.
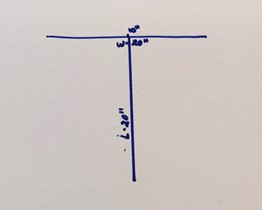
- You can also draw the same lines on the left and right sides of the waist to ensure the rest of the pattern will be even.

- Also mark the length from your waist to hip on this line. This is where the hip width will be.
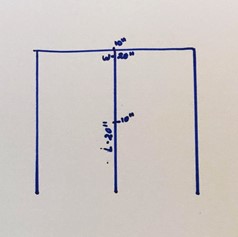
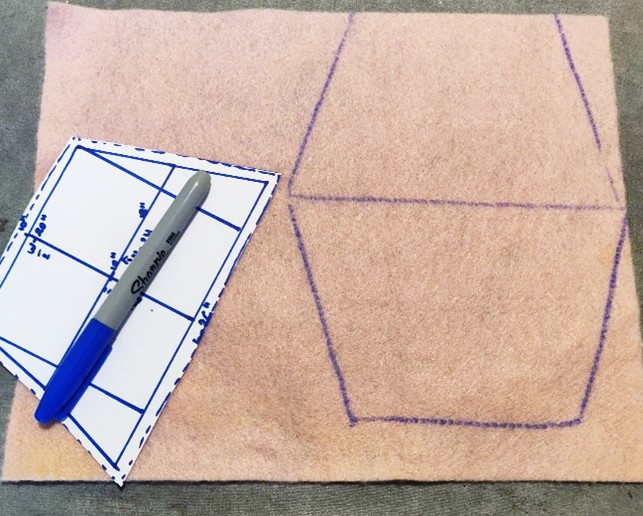
- At the point indicating the hip, draw a line that is the hip measurement divided by 2, with the midpoint intersecting the center line for desired length.
- Draw a straight line directly from the right end of the waist to the right end of the hip using a straight edge or ruler. Repeat on the left.
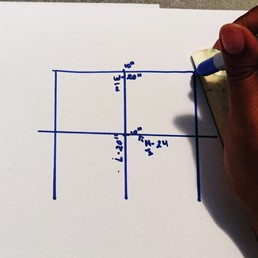
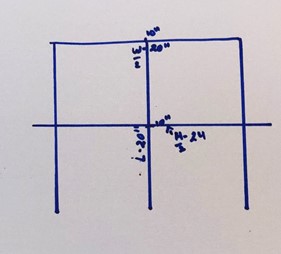
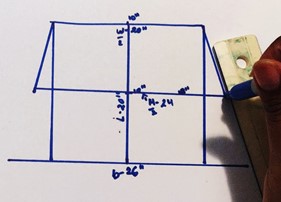
- Determine the preferred width of the bottom of your skirt. It can be the same size as the hip measurement divided by 2 or it can be wider (for this simple skirt it’s best not to use anything smaller than the hip measurement). Once it is decided, draw a straight line perpendicular to the end of the desired skirt length measurement. The center point should be at the desired length line that we drew towards the beginning.

- Draw a straight line from the right end of the hip measurement to the right end of the bottom width measurement. Repeat for the left side.
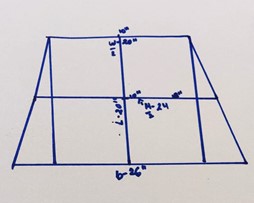
- Add seam allowance (1/4 or ½ inch depending on your comfort level with sewing.).
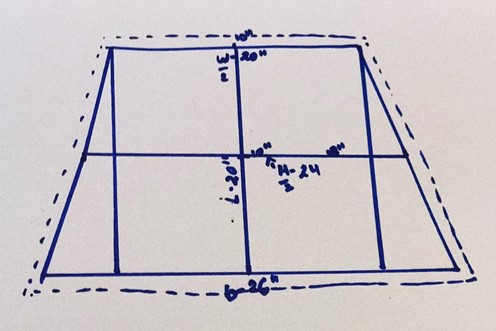
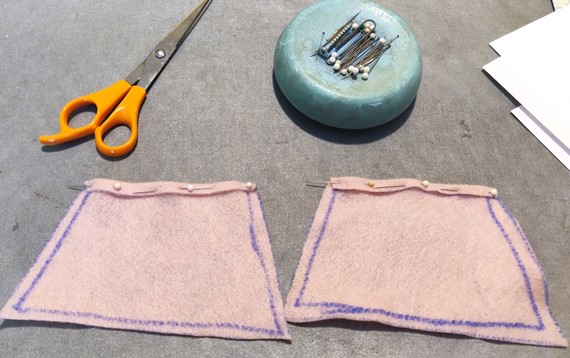
- Cut out the pattern. This will be both the front and back of your skirt.
- Trace the pattern onto fabric twice and cut both shapes out.

- Mark the seam allowance if you wish, or it can be estimated when you fold the edges in. To mark it, trace the shape inward from the edge, the same length that you added when putting seam allowance on the pattern.

- Always draw on the same sides of the fabric, you only want one side to have markings.
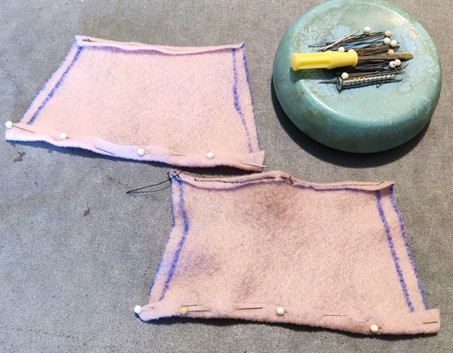
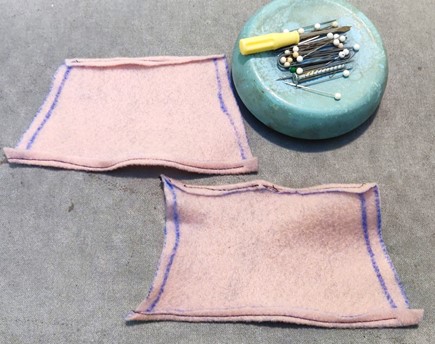
- Fold down the seam allowance at the top/waist of each piece. Fold inward, towards the side of the fabric with your markings. Pin the folds in place and sew them both down.
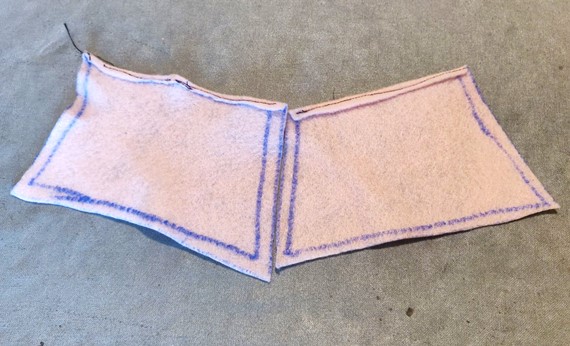
- Repeat for the bottoms. Fold the seam allowance up, pin it, and sew.
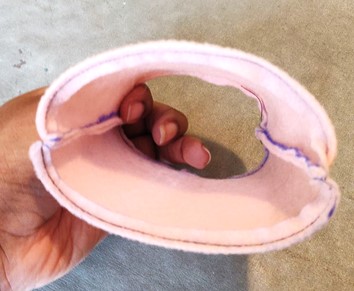
- Place the pieces of fabric back to back to the sides that were traced and have seams showing, facing the outside, with the unblemished surfaces pressed against each other.
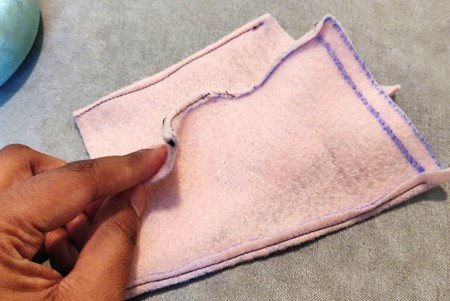
- Pin the left and right sides together.
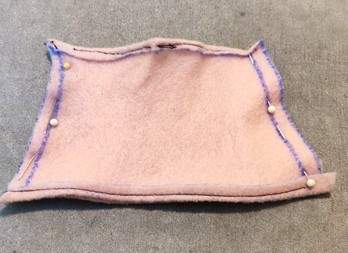
- Sew the two pieces together along the left and right sides.
- Optional: Trim any excess fabric from the seams, without cutting the threads.

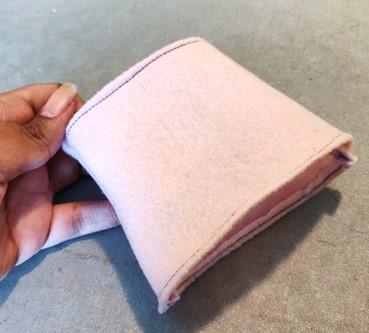
- Turn your fabric right side out so that the seams are no longer visible. Congrats! The skirt is finished.

This entry is licensed under a Creative Commons Attribution-NonCommercial-ShareAlike 4.0 International license.
Recent Comments